I get bored very easily. When I get bored I tend to try new things. Often these things amount to nothing and I forget about them (like my leafblower go-kart). Sometimes though I’ll try something and get hooked immediately.
Sometimes they work out, sometimes they don’t. Almost all the time they are good fun though. This time that tried out thing was the brewing of Mead, and my word did I have some fun. I also sunk a load of cash into it but who cares because I got to act like a mad scientist in the kitchen whilst my housemates looked on in mixed fear and awe.
So a little background, what is mead you may ask?

Well, mead is in fact the oldest known alcoholic beverage that we are aware of. By some accounts it even predates the beginning of formal agriculture. Basically, since the first time a human could walk on their own two feet they’ve been drinking Mead and falling off them again. In its most basic form, mead is just honey added to water plus some form of fermenting bacteria (almost always yeast) which then eats all the sugar in the honey and poops out alcohol. 9/10 times this tastes like sour bee vomit though and people will add all sorts of fruit and/or herbs and sweetners etc to soften the flavour. This is then left for a while (anywhere from a month to many hundreds of years) until the fermentation is complete and then you can drink it! Then you will almost immediately be violently ill and/or try and take your top off and fight a nearby tree. Without specialised equipment and delicate procedures it can be quite hard to judge how strong your mead will be and just what has actually gone on with it during those many months of fermenting and so the resulting outcome can be… catastrophic.
So. How does one avoid becoming an enraged honey monster upon immediate ingestion of this golden nectar? Honestly I have no idea, the stuff I brewed would have knocked the hind legs off a prize racehorse. Luckily though it had the added benefit of actually being really quite tasty as well, so I thought I would outline how, what and why I made this potent potion of liver busting madness so that you too can drink half a bottle and then eye up that nearby shrubbery for an evening of thorny passion.
Step 1: The Honey and the Water
The honey is where mead gets all its aromatics from, the delicate flavours that are brought out slowly as the sugar is eaten away by the yeast. It is in the choice of honey that the actual final flavour of your mead will be if you don’t go adding fruits or other extras. For my first batch I added a whole load of honey I received from a local beekeeper, which required a lot of prep and sorting and that’s a whooole other blog post in the making. In the end though I had 2 kgs of pure honey and two very badly stung hands.

Next is the water, an often overlooked matter in homebrewing. Apparently. Tap water contains all sorts of things that you don’t necessarily want in a batch of mead (safe obviously but not great for our little yeasty friends). Mineral water on the other hand contains all sorts of other things that you may or may want in your brew i.e. Minerals. I had a good perusal of the internet and decided that Highlands Springs water would be the perfect solution for the sole reason that the name sounds cool.
So, with my ingerdients sourced in an extremely scientific manner, I now needed to source some Yeast.
Step 2: The Yeast
Yeast are little beasties that primarily have the job of eating up simple sugars and farting out carbon dioxide and Alcohol. And for that we must love them. Being alive however means that they are also your most unreliable variable. If you fancy taking a more ‘old school’ route, you can go scrape the skins of some grapes for wild yeast and see how that works out. If you want to make something frinkable though, head for the interweb. People have been making mead for thousands of years, and one law of life is that if people make it, then people will blog about it (case in point is what you’re reading now).
Various yeasts have been bred from their wild brothers for specific purposes, much like tiny little alcohol pooping dogs. The yeasts we’re interested in are ‘brewers yeasts’, bred to tolerate higher levels of alcohol, particular strains of these little guys can be used to tune your brew to whatever strength you’re hoping for. Now as I am a refined and restrained chap, I decided to go for… Super Wine yeast, namely the stuff that can handle pretty much as much alcohol as possible and will ferment at such a high rate it looks like you’re brewing in a hot tub.
Step 3: The Method in the madness.
The first and foremost point of this is STERILIZATION. Over and over remember, any bacteria or bug or anything that gets into your mix will bugger your mix to bits. Boil your tools, get a sterilisation agent, anything, just keep your equipment squeeky cleans from start to finish or you will have wasted your time.
Right, now to the nitty gritty. Simply put, you want to add the honey to the water and the yeast to that mix. There’s all sorts of ‘official names’ for each stage of this, but I am a mad scientist and official nomenclature is not for the likes of us.
Honey to the water: first off, bring the water to an almost boil, this kills any bugs you may have picked up. Let it slowly cool to about 80-70 degrees (C not F obviously, I’m a mad scientist, not an idiot one) then pour in your honey. Get as much of it in there as you can, add some hot water to your container and throw that in there to, get it all, every missed gram is a missed bit of booze and therefore a waste. You’ll find at this temp the honey mixes easily. Transfer your mix to your primary fermentation vessel and let it cool further.
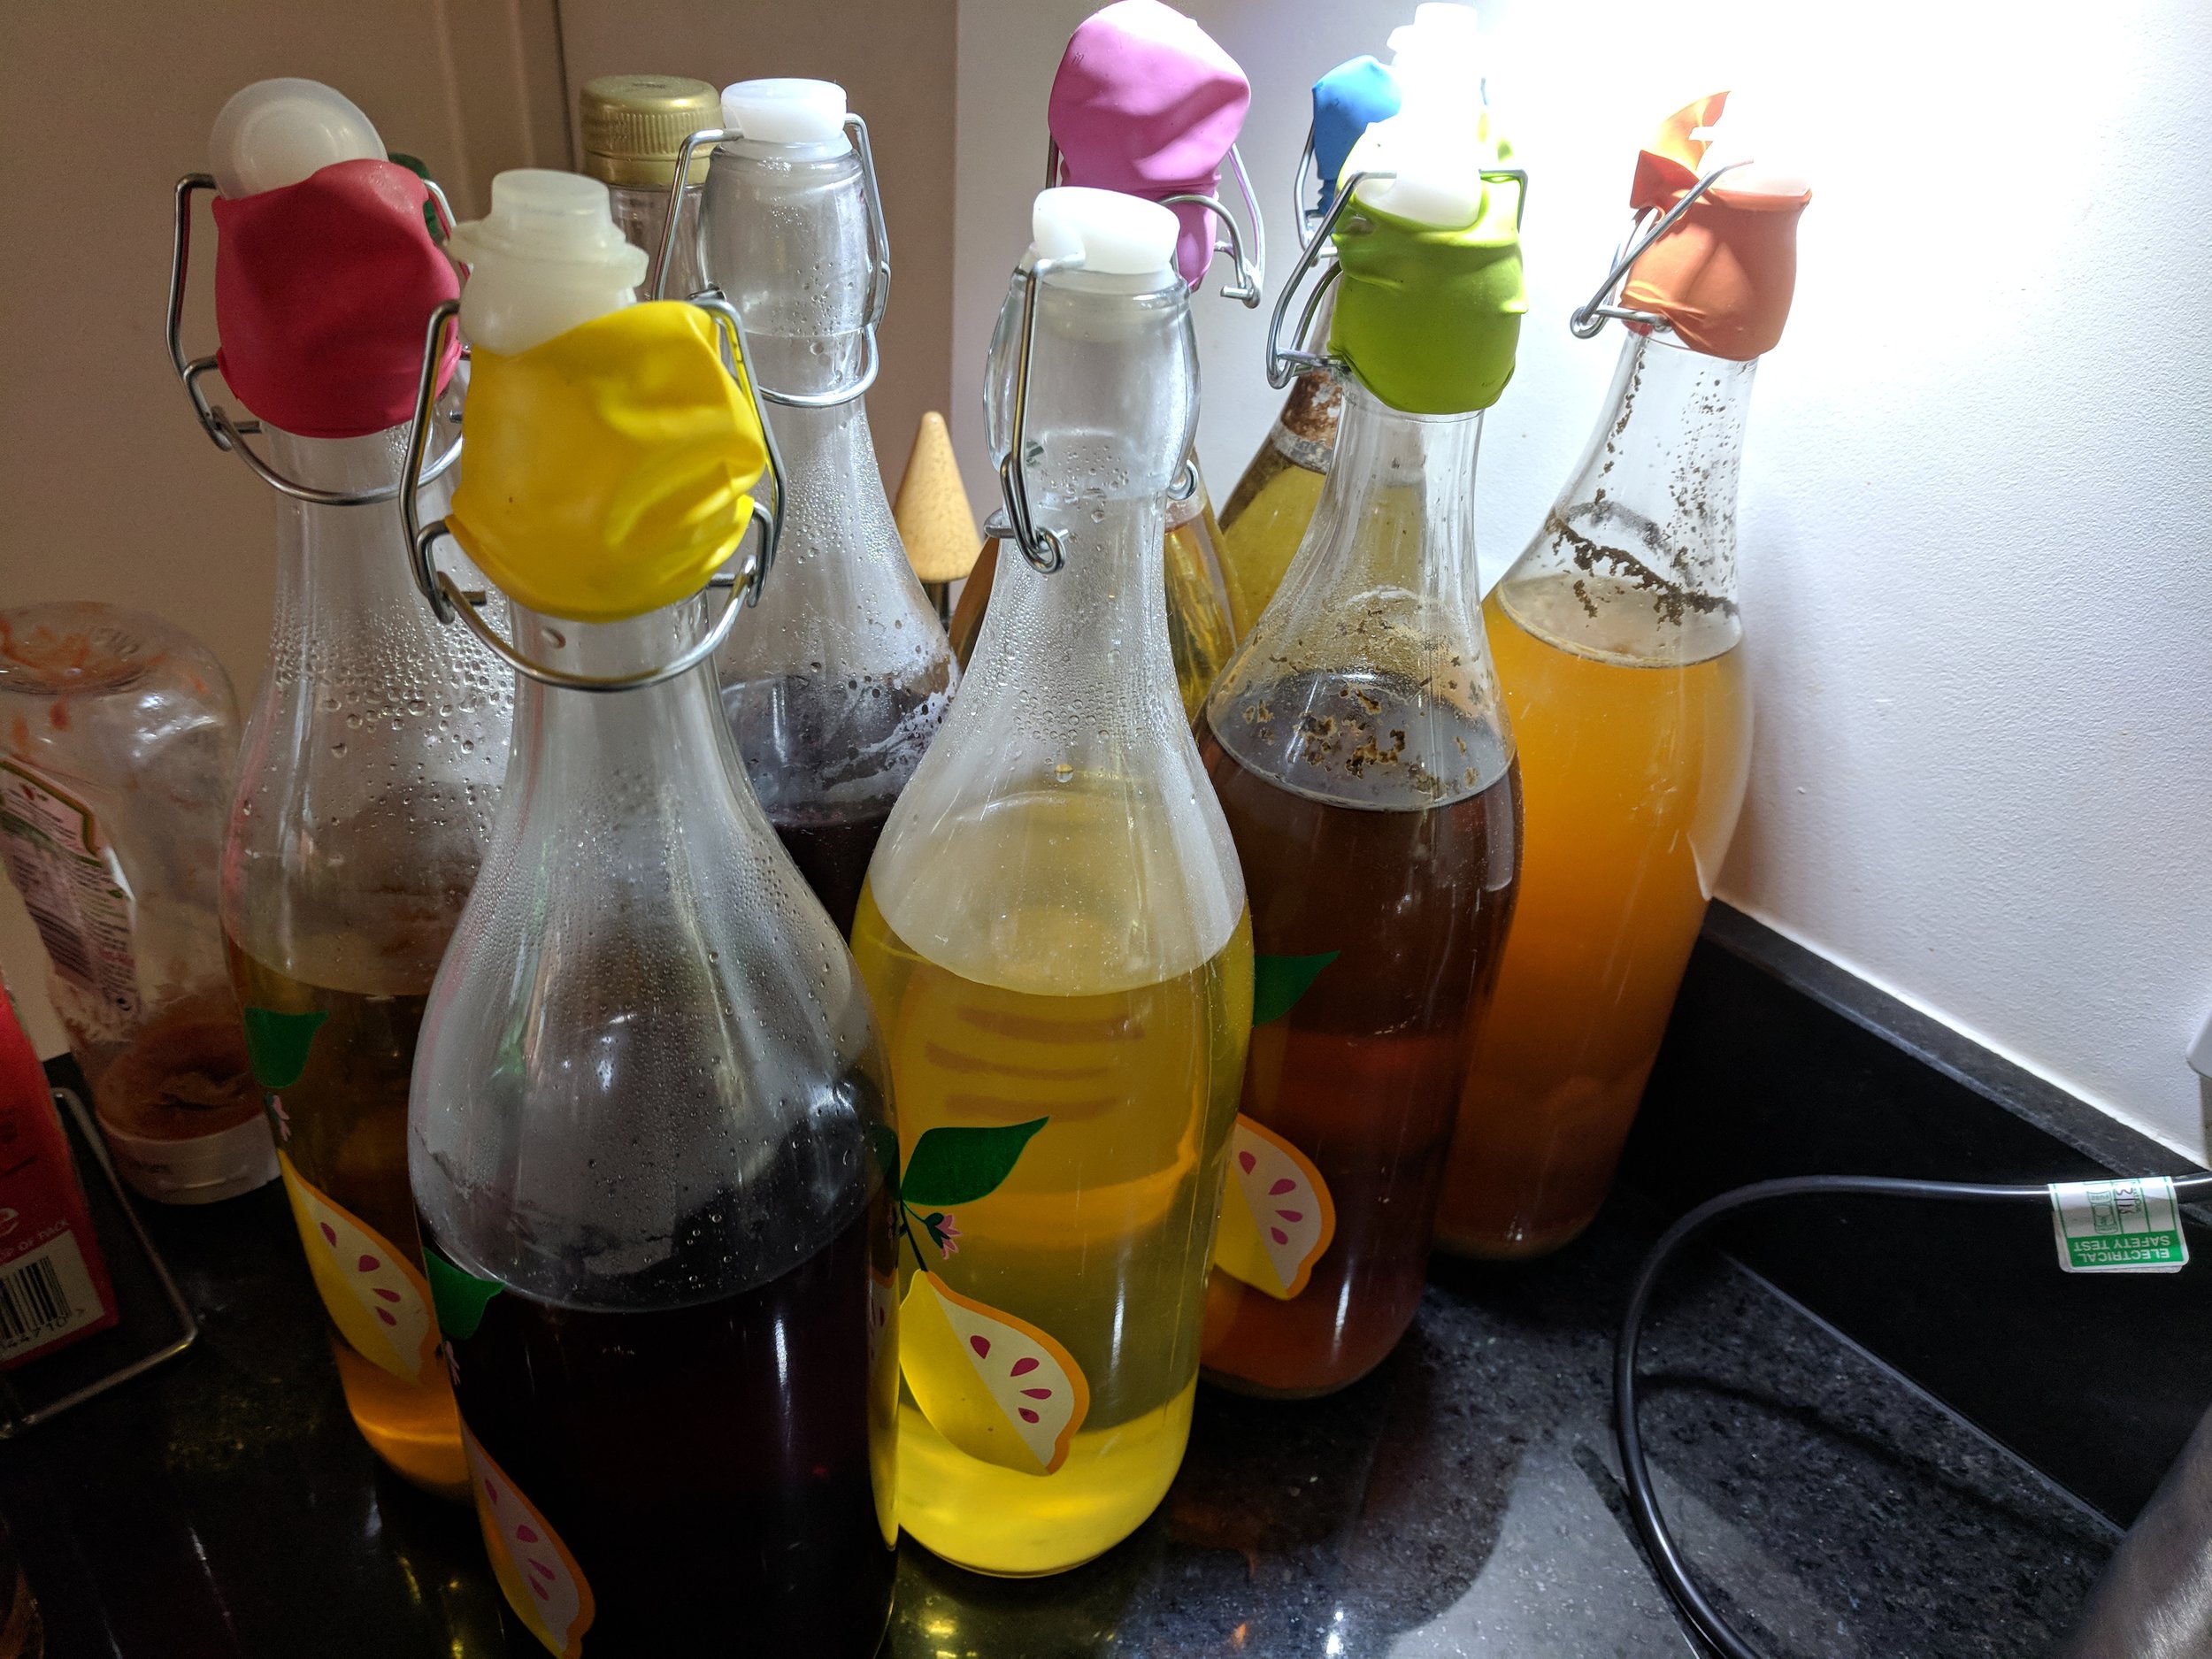
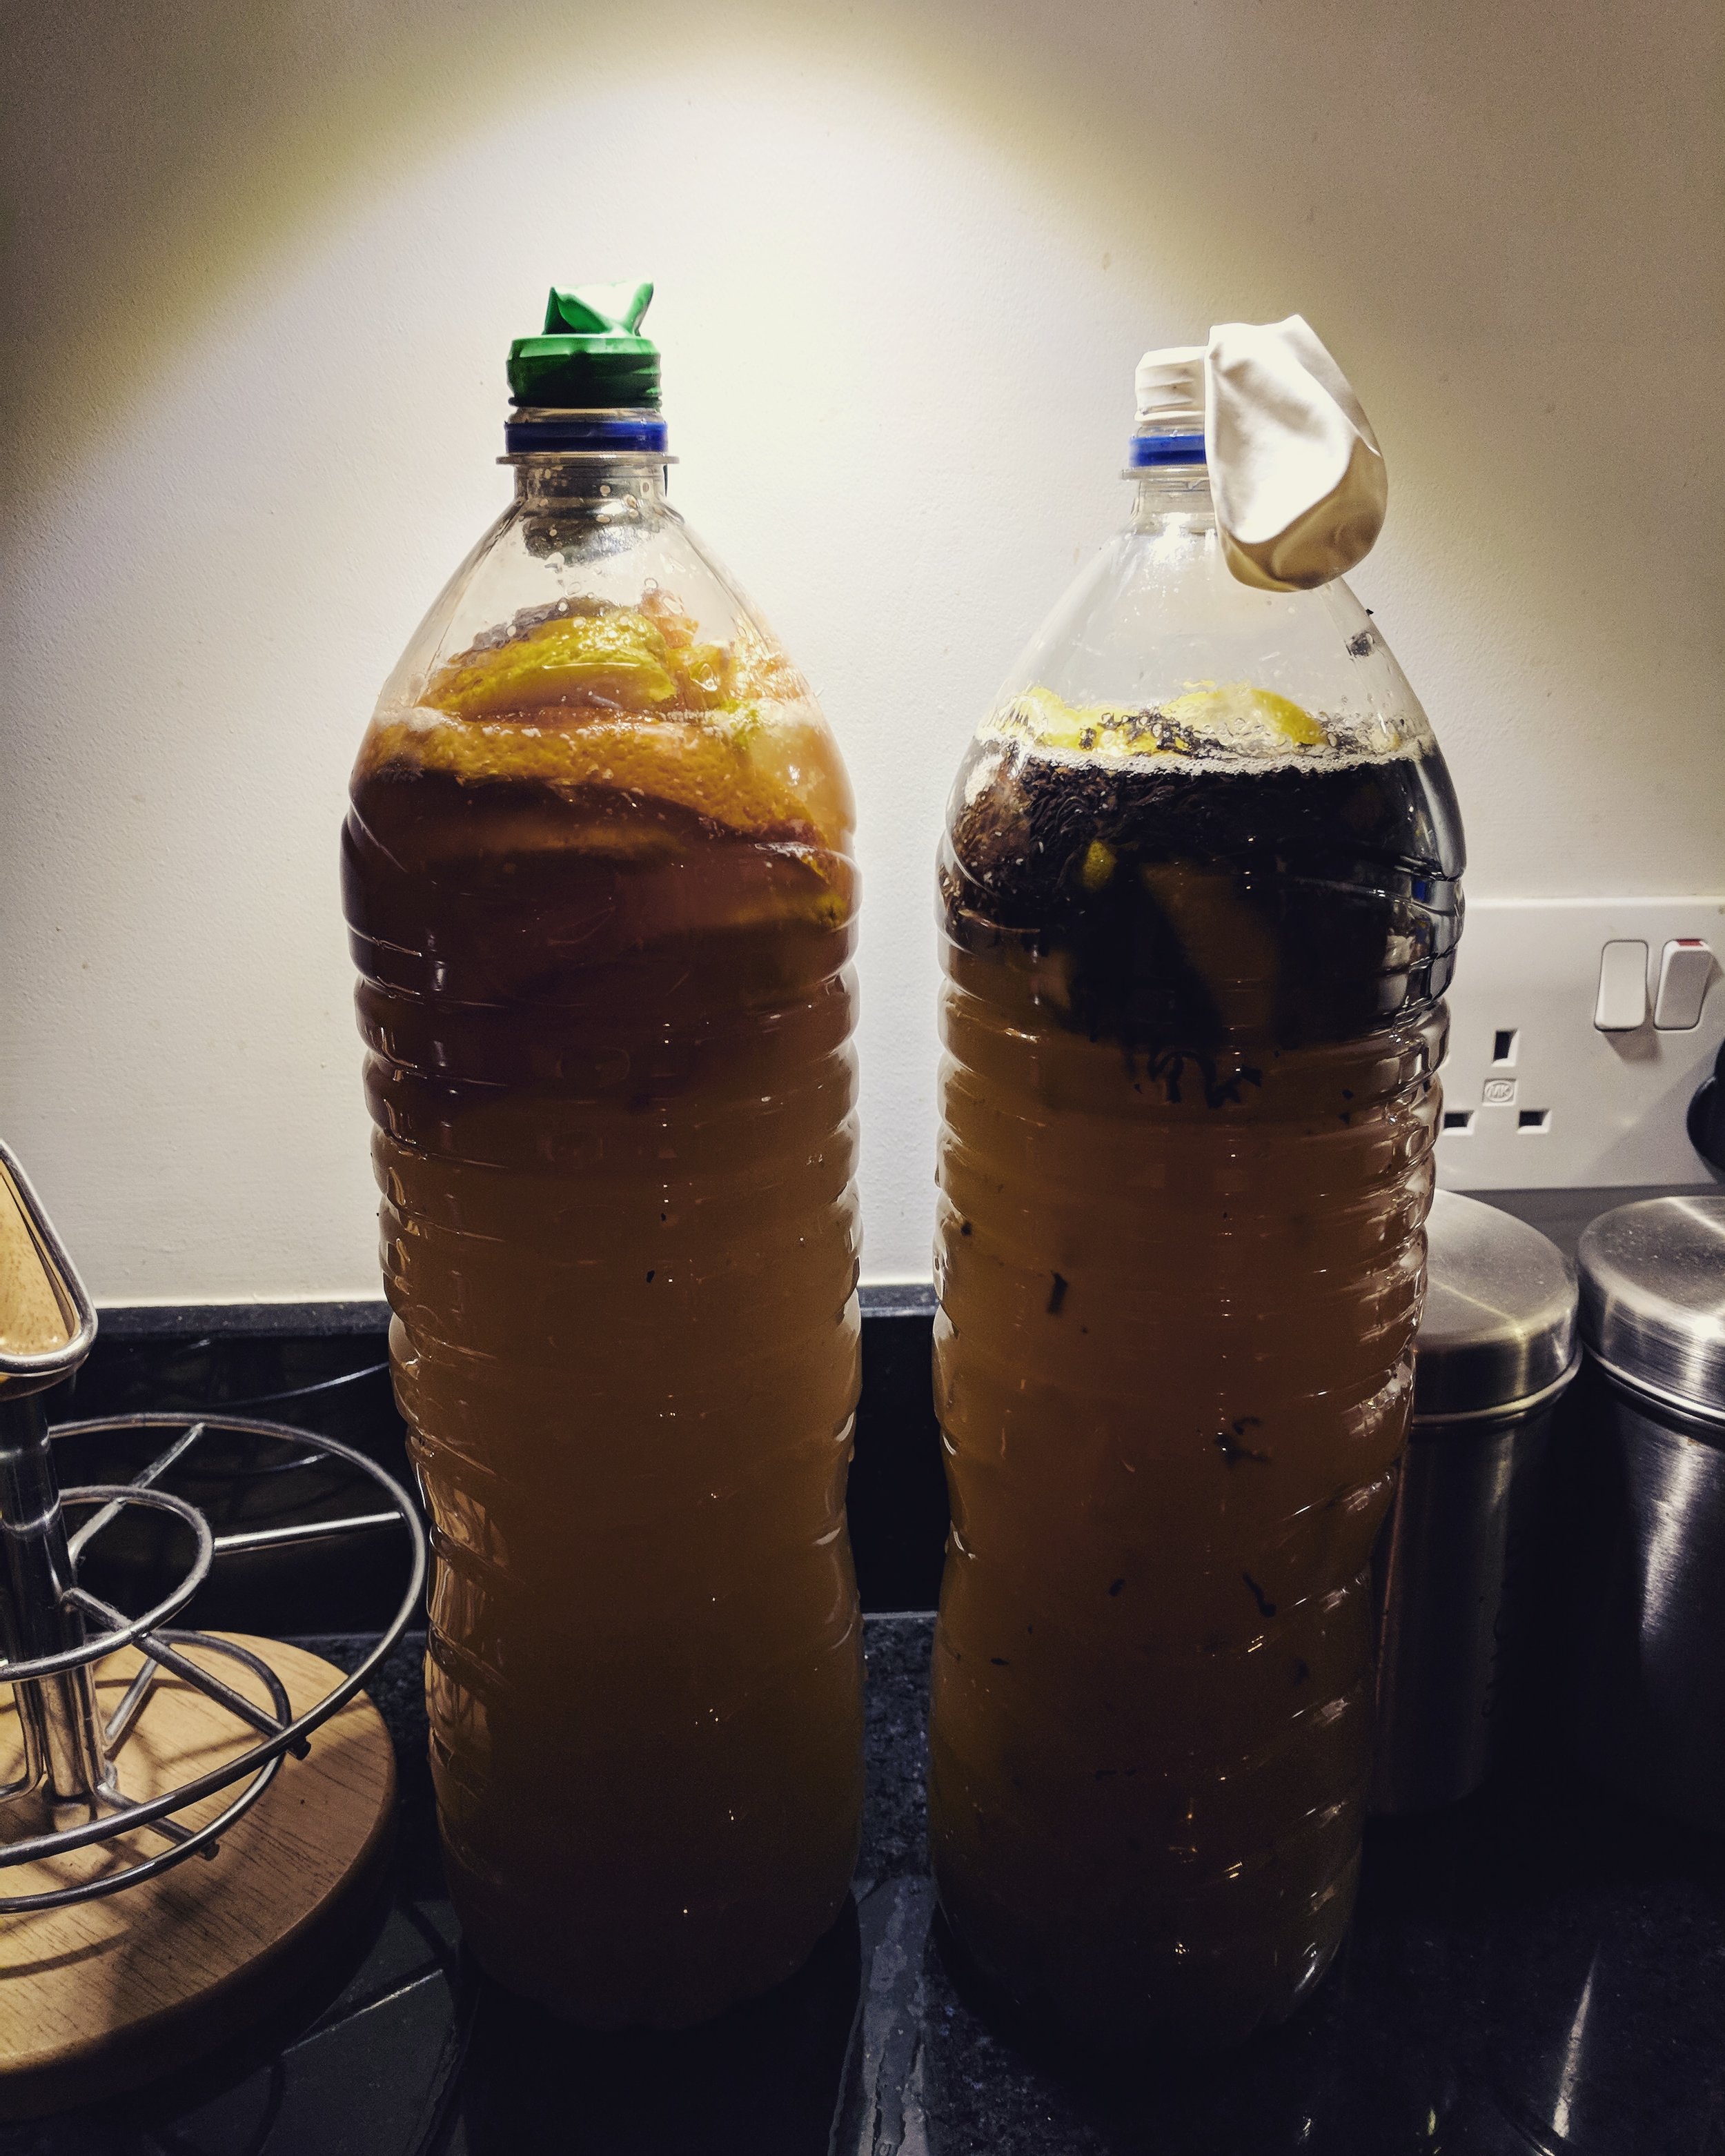
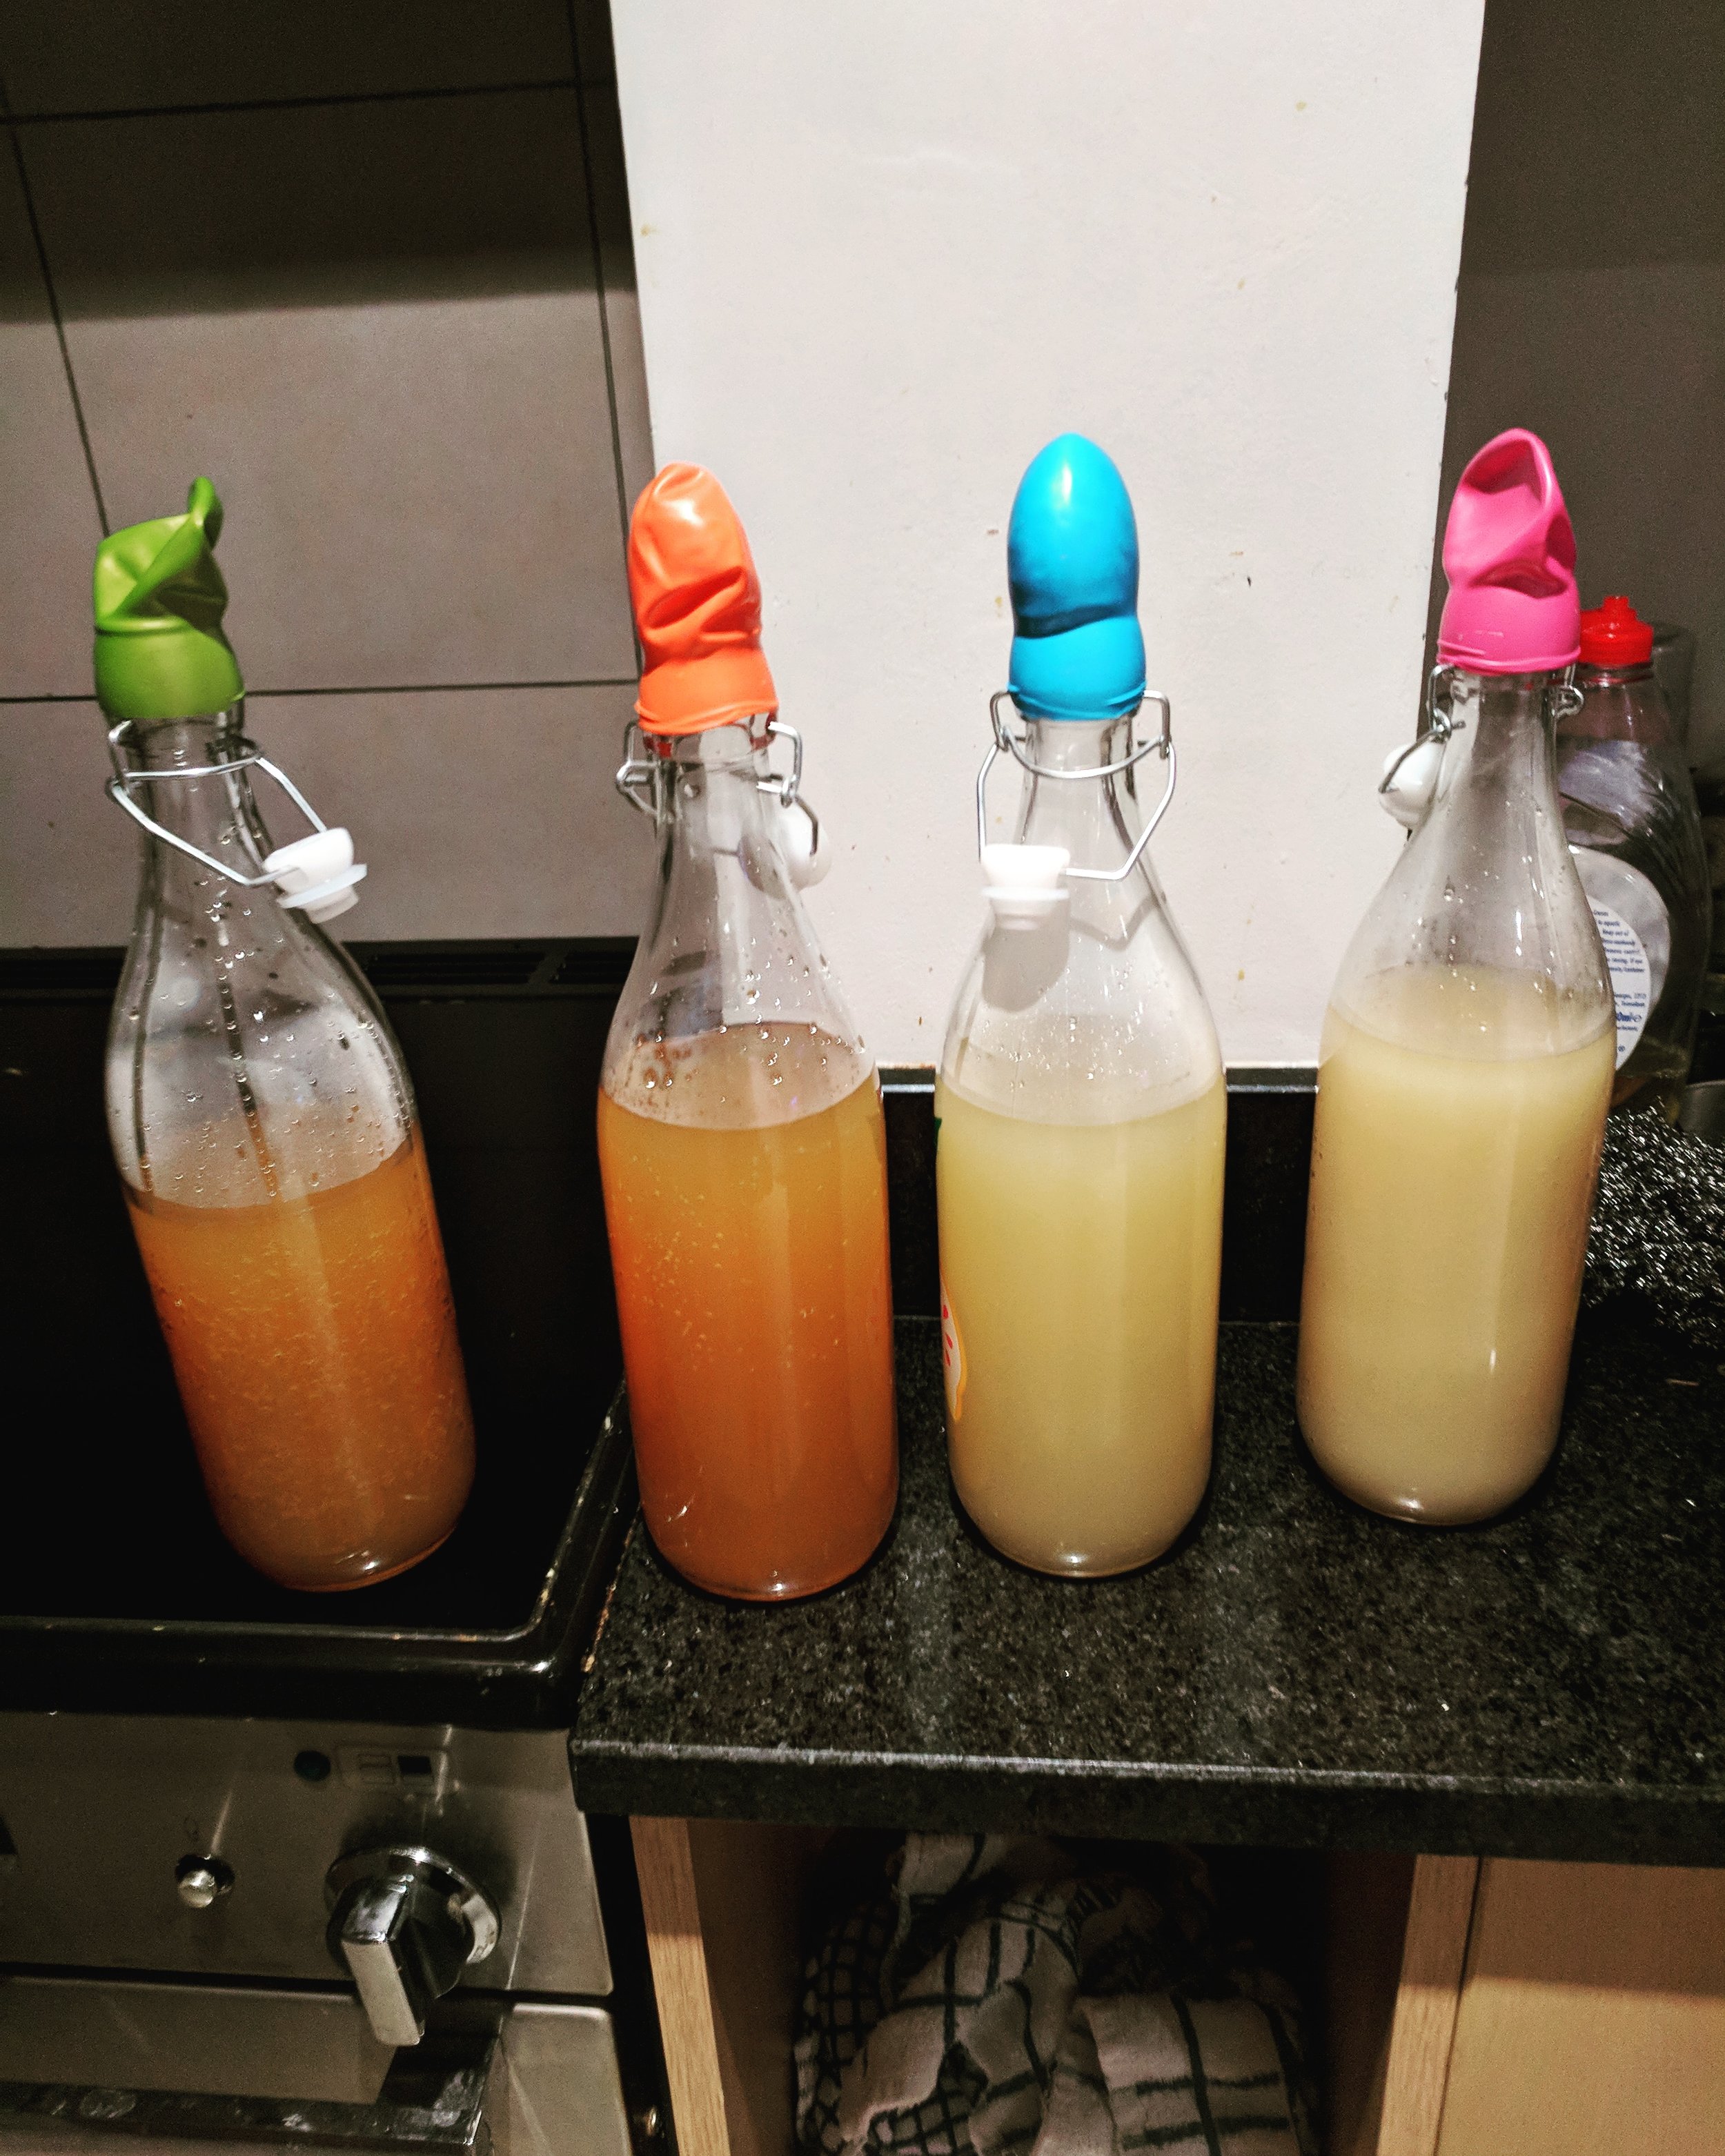
Once the temp is down to between 32 and 37 degrees you’ll want to add your yeast. It doesn’t matter quite how much you’re adding as it’ll multiply to fit your needs but I’d say about 1 teaspoon will cover anything from a litre to 5 litres. Seal your vessel with an airlock of some sort (be it a balloon with holes poked into it or a proper bubbler valve it’s up to you).
And that’s it. That’s literally all it takes.
My strategy is to leave it be for a month or so (until it’s finished fermenting) then to siphon asmuch of the liquid as possible into a different vessel, leaving as much of the yeast and other bits behind (know as the ‘Lees’ or the ‘gross pus looking stuff’). Once you’ve done this, if you feel like it, you can add in a load of other stuff to flavour your mead. You can do that in the first stage, but if it’s fruit or has any sugar in it then your yeast will most probably start back up again and eat it until it is mush. My first batch was good old plain pure water and honey, and it tasted like a rats arse before aging. I made another batch where I added a whole load of apple and strawberry and that actually tasted really very good. It’s all about experimentation at this stage, find the flavours you like and just wing it (for those of a literary persuasion, here’s fantasy novelist Patrick Rothfuss’s own succesfully mind melding attempt). Ignore the internet, this is all about what you think sounds cool. I’ve got one brewing at the moment that has a big spoonful of marmite sitting at the bottom with some earl grey tealeaves because I was drunk and looking forward to breakfast. As with all things, experimentation is the spice of life.
And now for the hardest part…
Step 4: Leave it alone

Yup, now unfortunately you have to step away. Mead does not taste good if you just jump straight onto it. It needs to be left alone to age, to allow the flavours to… flavourfy. I’m not actually sure why it needs so much time compared to other alcohols, but it does. Drinking it straight away is hellish and sour, over time it gets better though and you will absolutey not regret it. It’s safest to put it away smewhere you can’t watch it whilst licking your lips, preferably for at least 6 months, but arguably for over a year. You can leave this mellowing to happen in the secondary vessel it’s in, a process known as ‘batch aging’, or ‘laziess’, or you can siphon it further out of this and into bottles. If you are putting it into bottles and sealing them now though then you’re going to want to be absolutely sure that fermentation has 100% finished. If not then you’ll basically be making a whole load of tiny alcoholic pressure grenades which explode with a mess. Whichever way you go, you’re going to then have to leave it for a long old while before you drink it. Whilst you’re busy not drinking your mead too soon, why not occupy yourself with making even more mead? Because this is who you are now, the bug has you and now you’re stuck forever.
Step 5: ???
Step 6: Profit.
And hey presto! You’re all done. From bees to bottle to your lips, this miraculous medium of mind muddling mayhem has finally made it to your hands. A year later, some money lighter, and your mouth drooling at the corners it’s time to uncork the first of the unexploded bottles in your batch and take that first swig. Savour it because it’ll probably be the last one you remember. Thousands of years of history, thousands of experiments, of years of tradition and pursuit of alcoholic perfection, the bottle in your hands now a part and continuation of such. Drink it, enjoy it, wake up in the fetal position in a stranger’s living room. You made this mead and therefore earnt the right to drink it and enjoy the outcomes.